I purchased a Mad River Eclipse canoe for my upcoming trip to the Boundary Waters. That trip will most likely be a solo affair so I need to be able to paddle the boat single. So, I set about making not one, but two additional seats. The boat will see additional use in family canoeing and I want to have seats for each of my two children and wife.
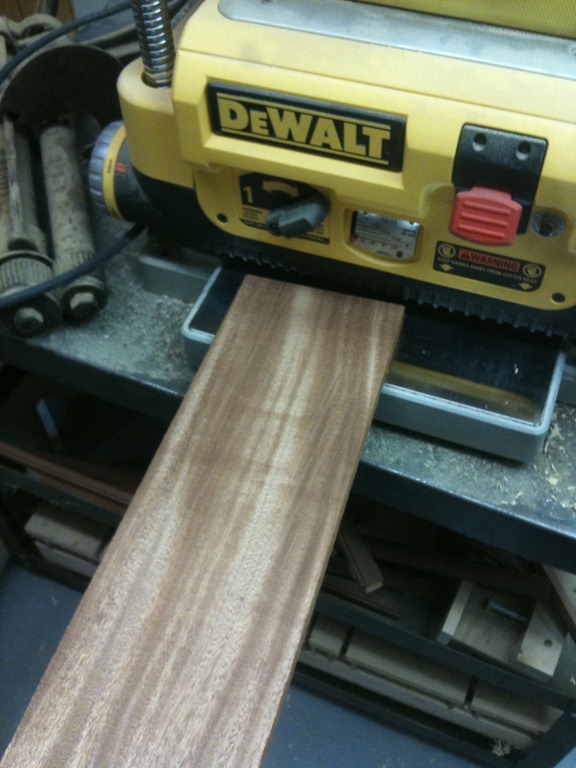
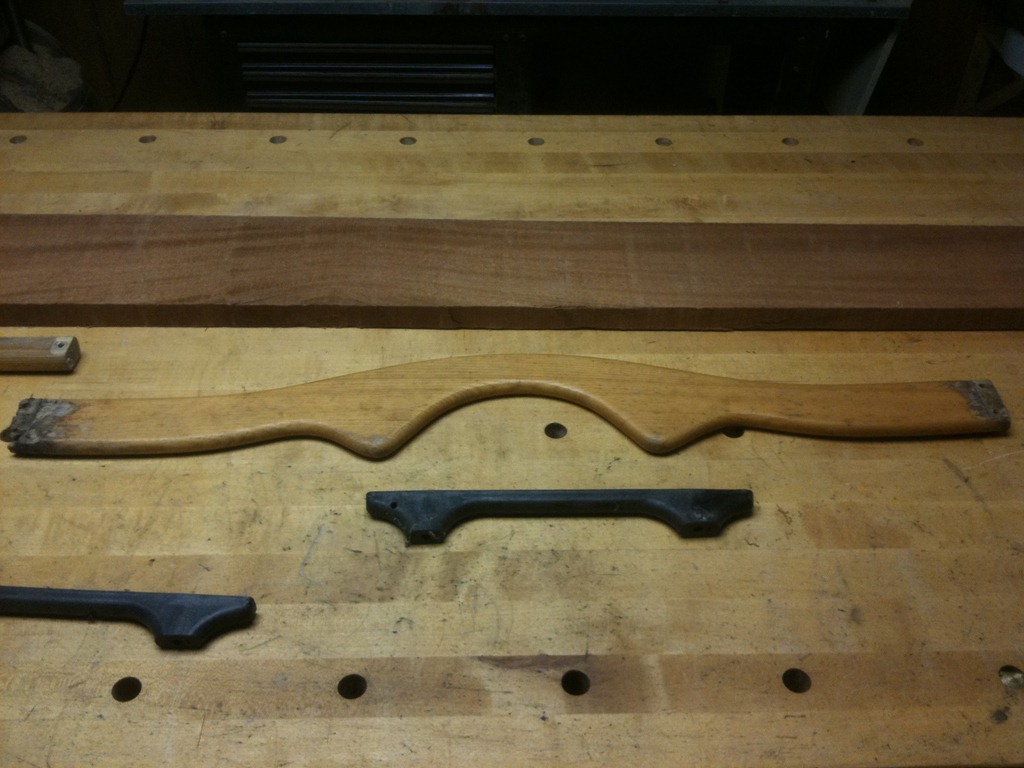
To start, I found a wood appropriate for outdoor use. In this case I chose mahogany because it was on hand. Using the existing seats as a template, I measured up the lumber needed and cut it to rough size. 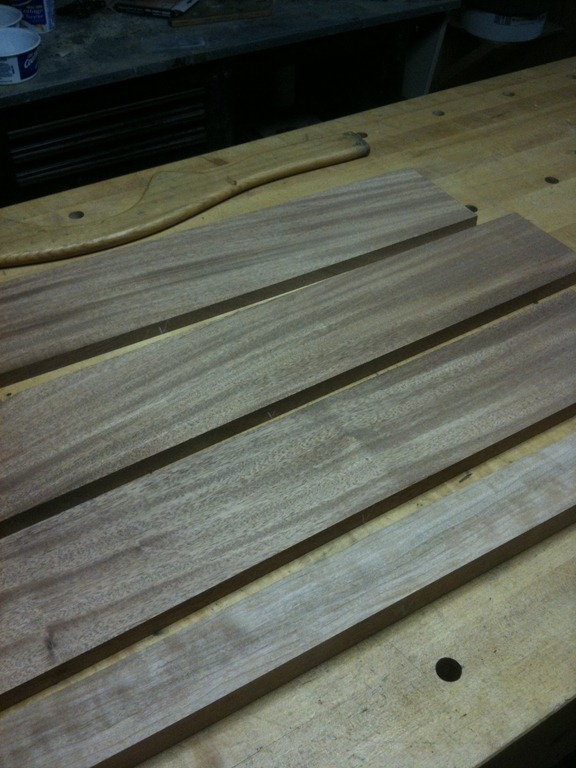
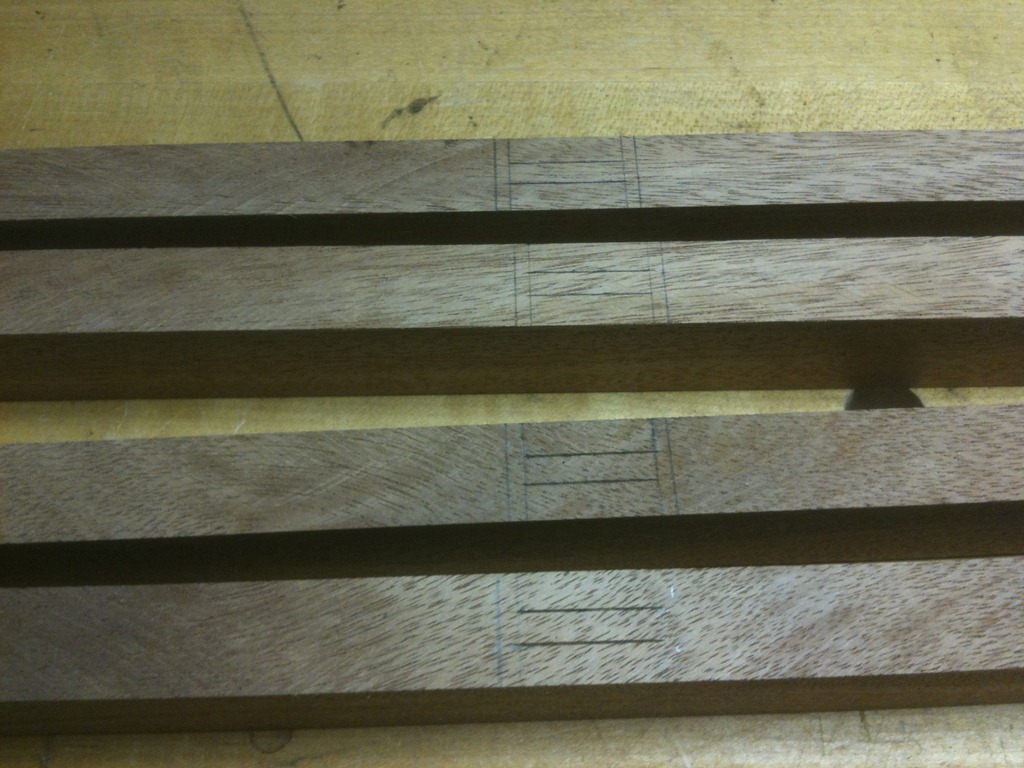
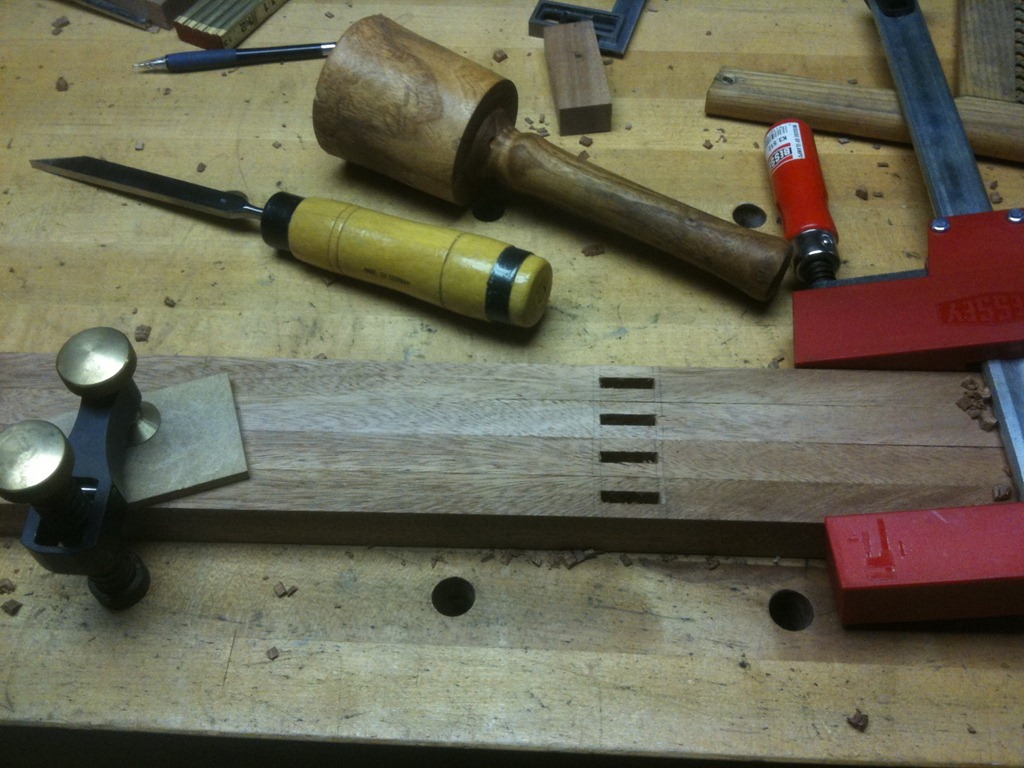
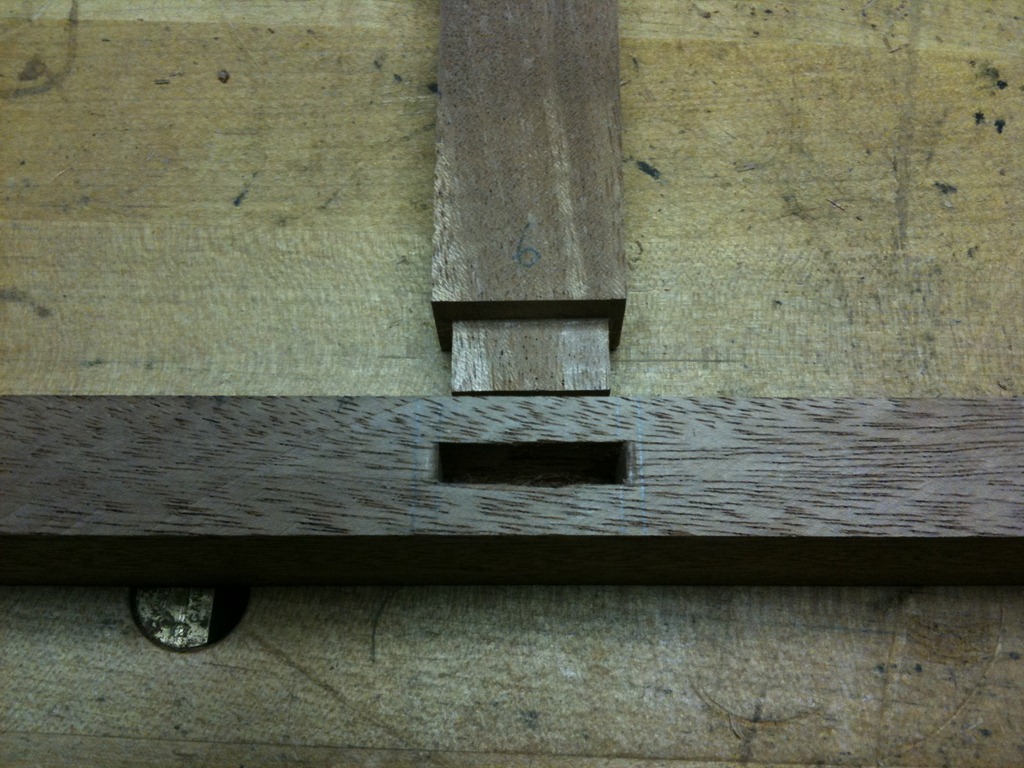
 After the wood was machined to dimension I created the seat frame using mortise and tenon joints. In this case the mortises were chopped using hand tools and the tenons were cut on a radial-arm saw.

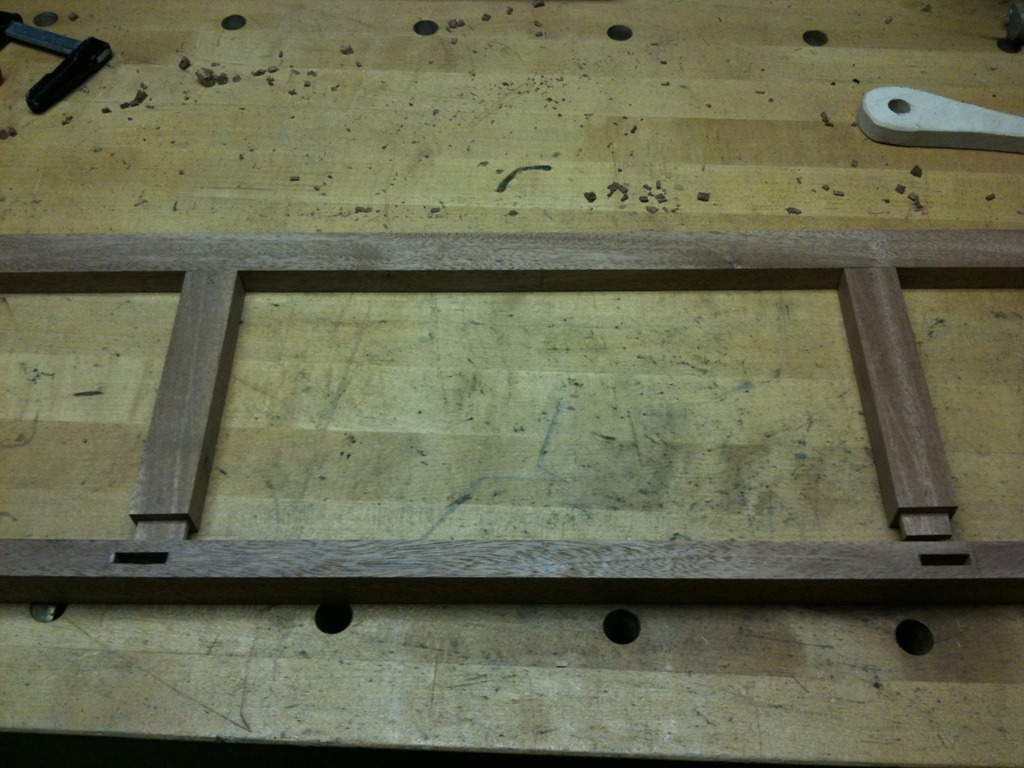
The seat frame was glued with a slow-setting epoxy that I purchased from the hardware store.
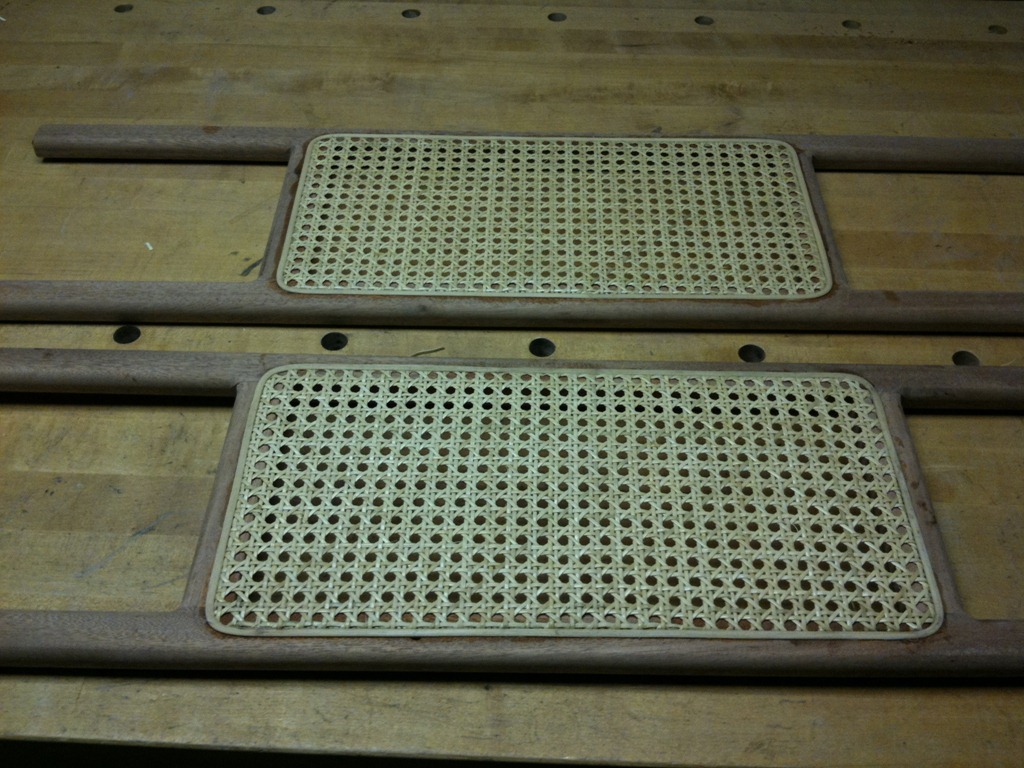
I chose to cane the new seats to match the existing ones. It turned out to be an interesting process for which I had to do a bit of research at the library to learn the technique. I purchased the cane and spline from Rockler because they are located closer, even though they were more than twice as expensive as Woodcraft.
To start off, I created a paper template to represent the location of the spline. I then transferred the paper template to a piece of hardboard and cut it out using a saber saw.
The caning instructions I followed recommended creating the groove for the spline ½” inside the frame rails. In my case, the spline was 3/16” wide and about ¼” deep. From the paper template I created a hardboard template to guide the router. The groove I routed was 3/16” wide x ¼” deep. 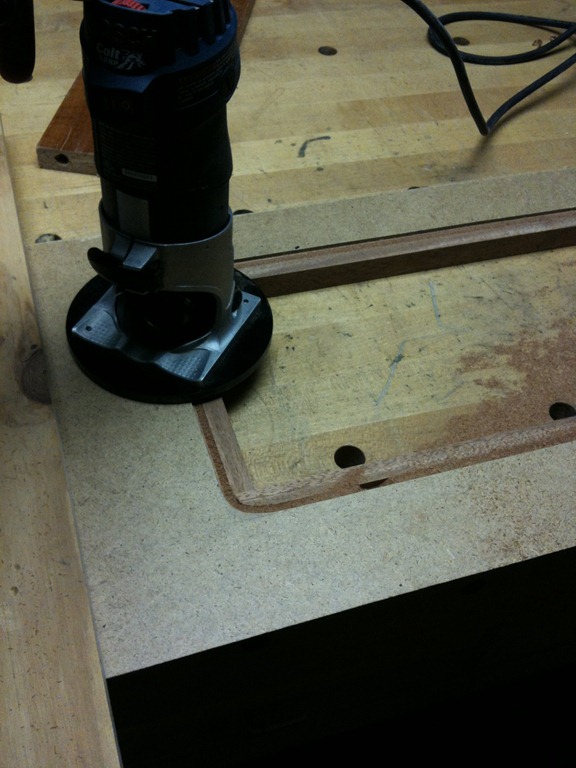
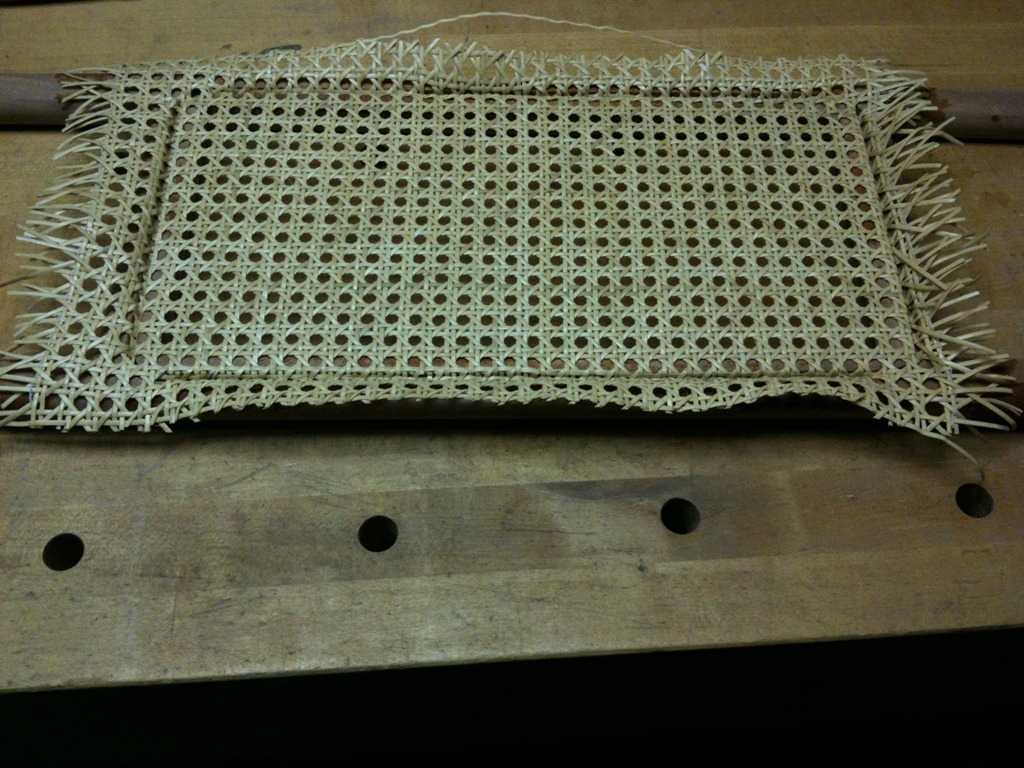
Before installing the cane, the reed spline and cane were soaked in warm water for 20 minutes. After blotting the cane dry, I used a 1/6” thick x 3” long x 1” wide piece of scrape maple (round the end a bit) and a dead-blow hammer to press the cane into the groove. This process was a bit scary at first because I was worried about cutting through, but it really wasn’t as difficult as it would seem. 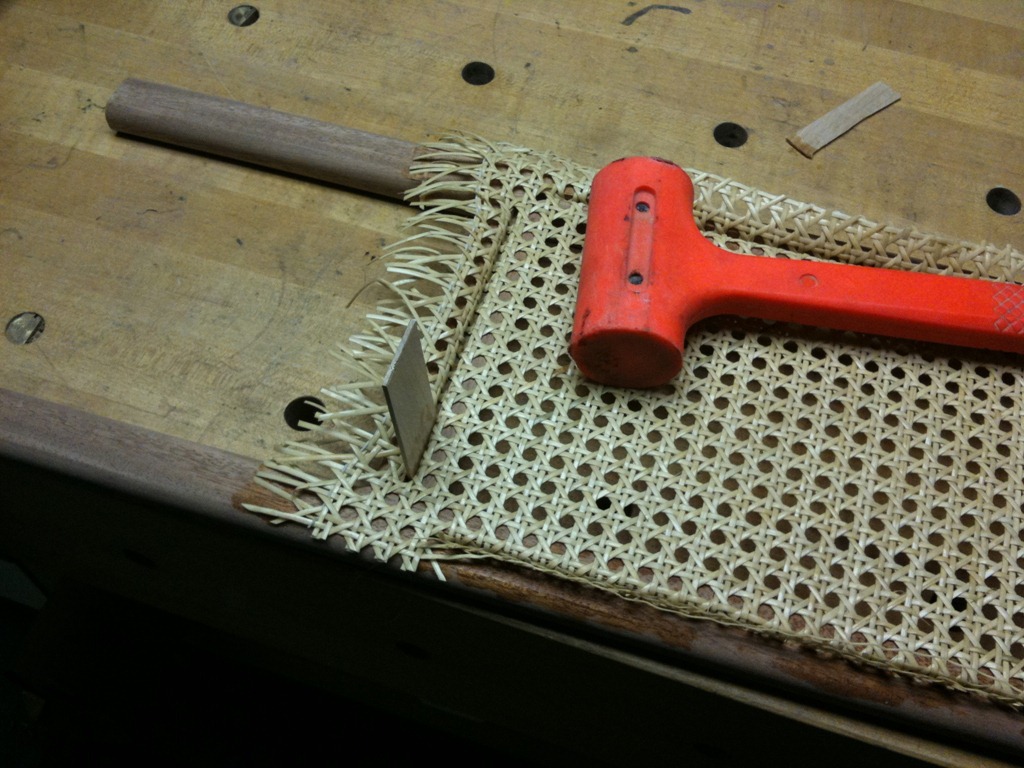
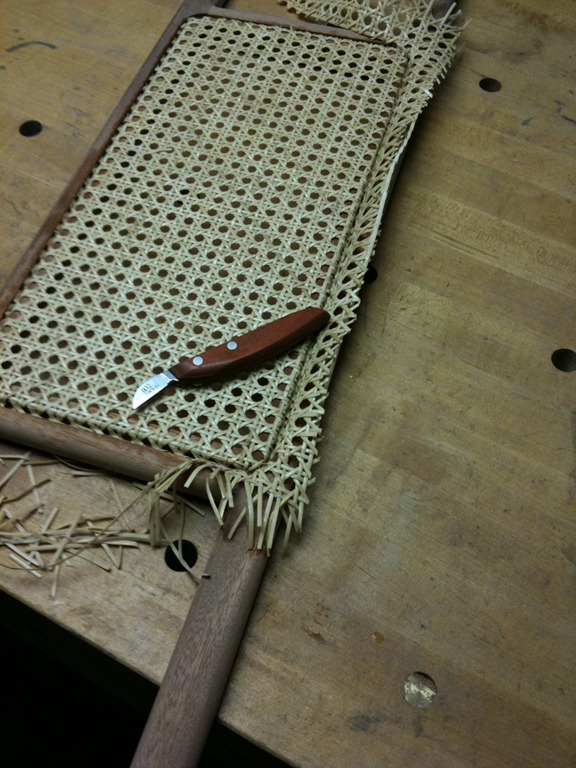
That complete, I used a chip carving knife to cut the outside edge of the cane, just inside the groove. This was the most time consuming part of the caning process. It was straightforward, but be careful not to slip and cut yourself!
 After wondering how I’d lay down a nice even bead of epoxy I came up with a simple solution. Mixing the glue in a sandwich bag and then clipping off a corner worked great. I was able to squeeze an 1/8” bead of glue out, just like a pastry bag. Remember, too much glue is bad! I read that it will make a real mess and believe it. Next was the simple task of installing the reed. First, I mitered the spline at one end using a sharp chisel.
Then using my dead-blow hammer I installed the reed. When I reached the starting miter, I marked a complementary miter on the spline with my chisel and then cut the miter using my cane tapping block as backing for the cut.

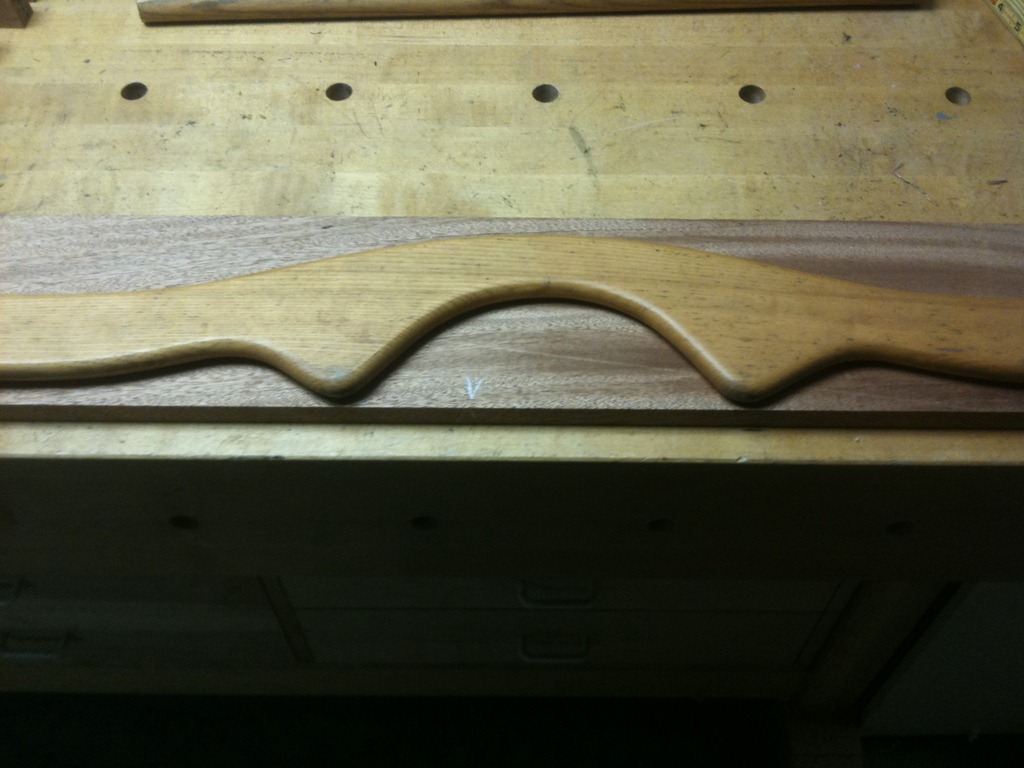
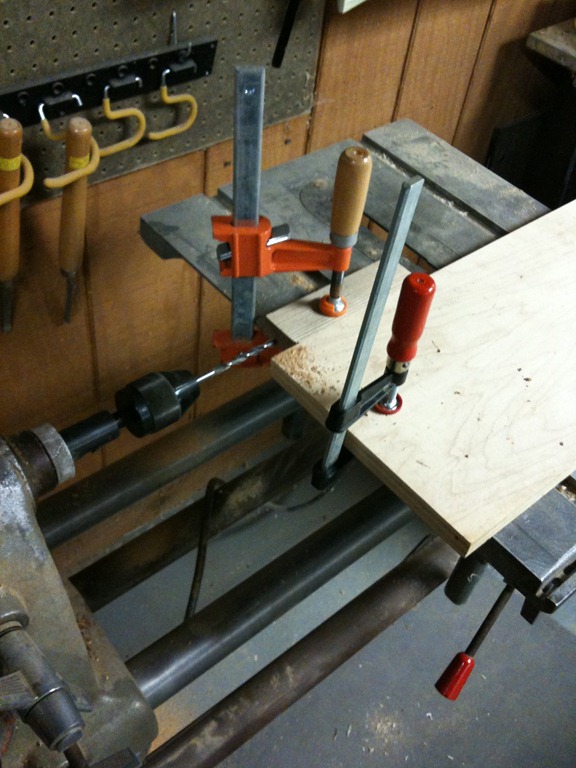
To mount the seats to the gunwale I chose to duplicate the standoffs in cedar because I had it on hand and it is light weight. For my son’s seat, I wanted it to be positioned lower so I created 6” long standoffs, seen below being center-drilled.
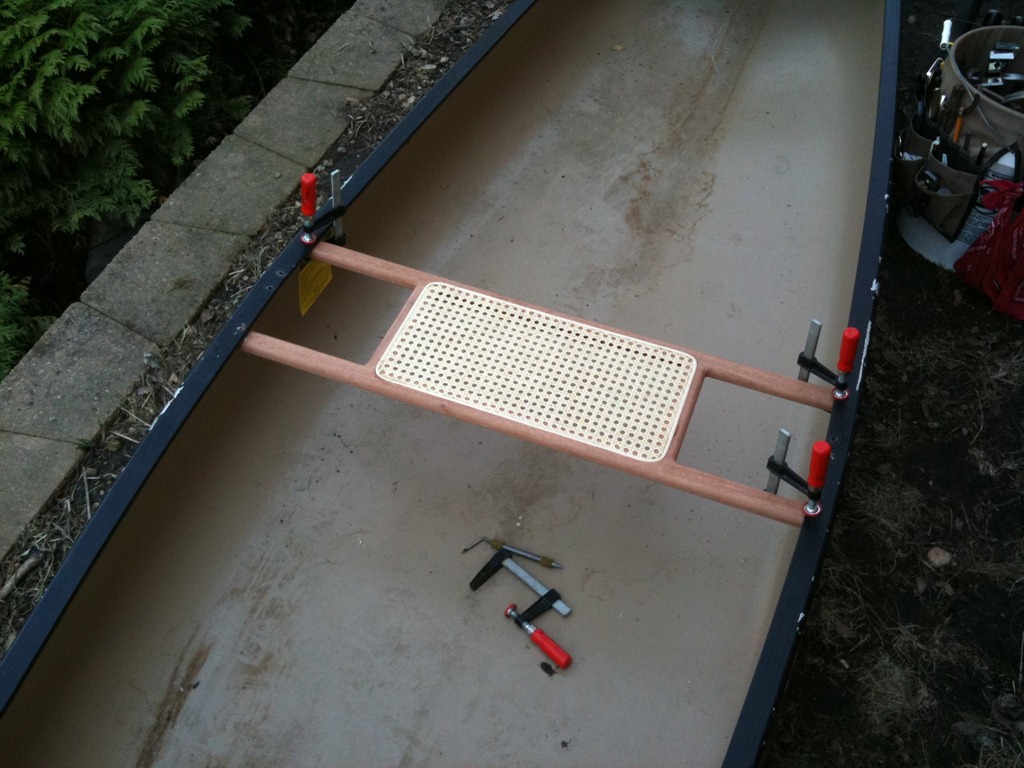
The seats were brush finished with a marine varnish and installed using #10 truss head stainless steel machine screws.
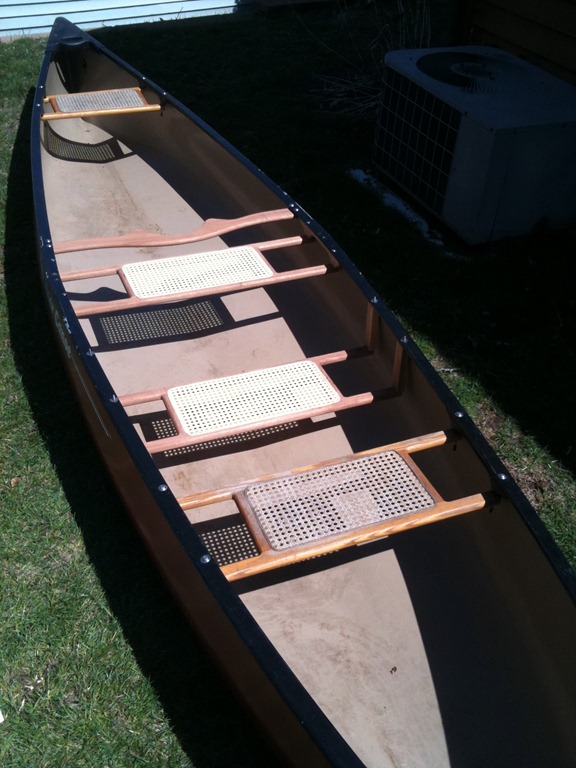
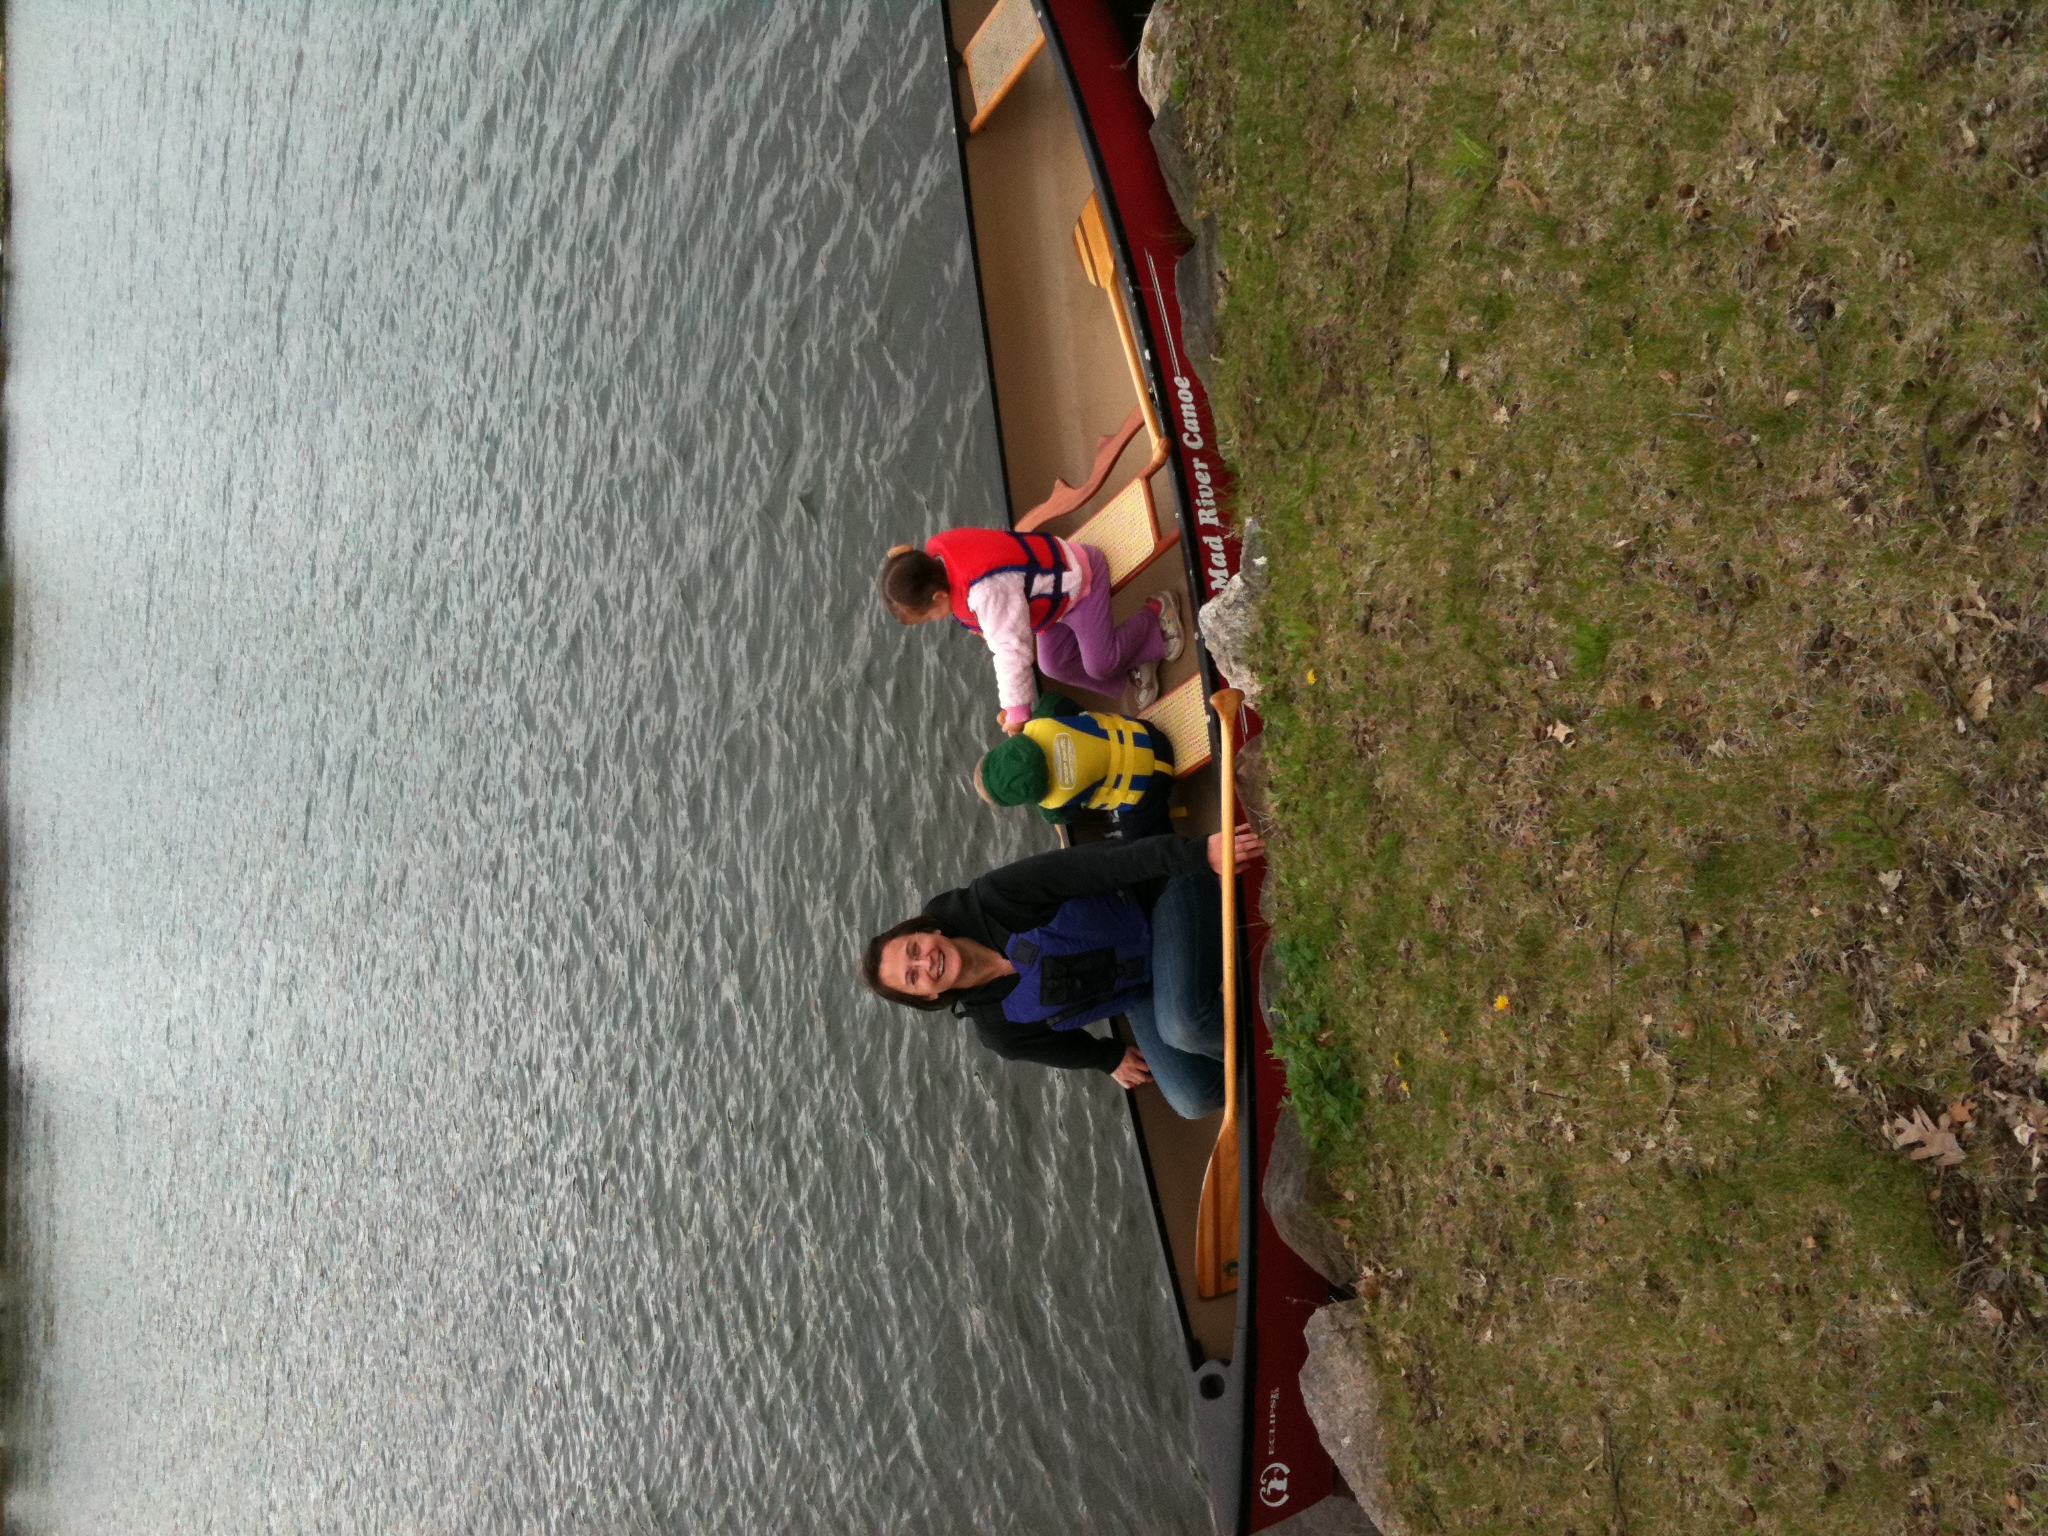
Here is the family on the maiden voyage!
UPDATE: After taking this boat, minus the bow and stern seats, through the Boundary Waters for a week I want to add a few comments.
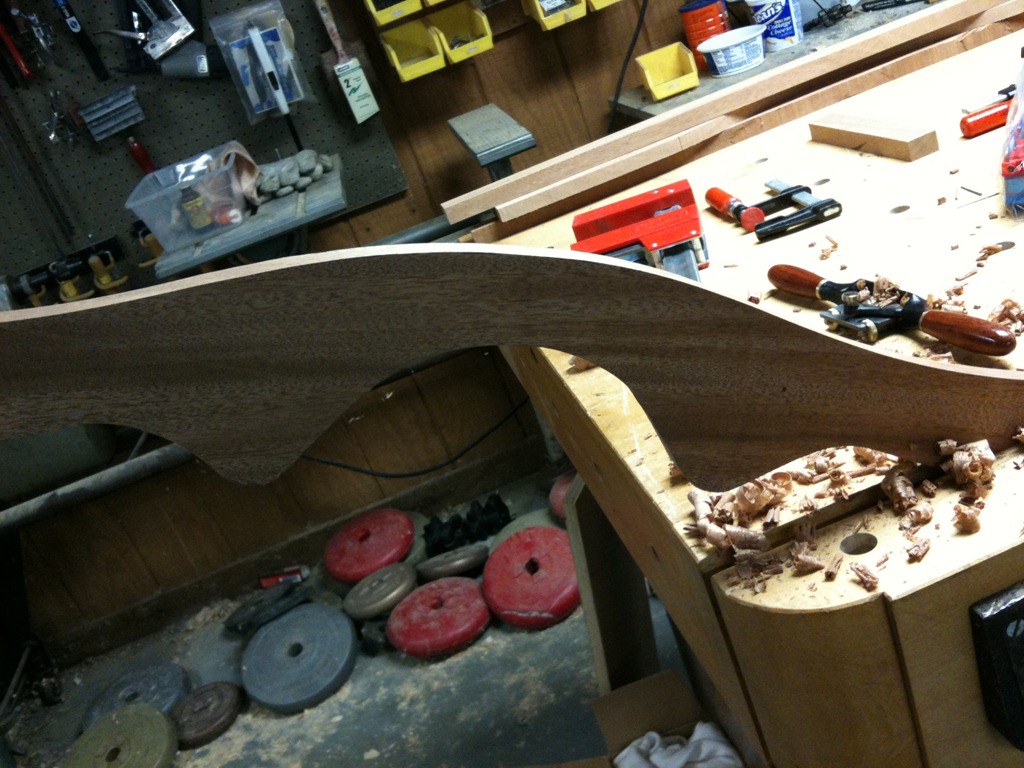
After testing the yoke with and without padding I can say that it is basically window dressing. It looks great but is uncomfortable, with or without added padding. While necessary to accommodate the center seat, the yoke is shifted off the balance point of the boat makes carrying more difficult. Regardless, it was more comfortable to rest the center seat on the top of my backpack or my head than to use the yoke so I decided to remove it.
I added a Tump Line in place of the yoke. Once I have a chance to do a serious portage with it I’ll comment further.